Have you ever wondered how you can seamlessly integrate all your smart home devices into a single user-friendly interface? Setting up Home Assistant Green for the first time might be the solution you’re looking for. This platform allows me to manage every aspect of my connected home efficiently, so let’s unpack the essentials and guide you through the process.

What is Home Assistant Green?
Home Assistant Green is essentially my go-to hub for managing smart devices in my home. It has become increasingly popular due to its open-source nature, which offers flexibility and the ability to integrate a massive variety of smart devices under one platform. With Home Assistant, I gain more control, enhanced customization options, and a way to automate daily tasks to make life a tad bit easier.
Benefits of Using Home Assistant Green
When I set up Home Assistant Green, I harness a plethora of benefits that make my smart home ecosystem more effective. Firstly, it supports countless integrations, which means I can unify devices from different manufacturers. Also, it builds on privacy, ensuring my data and device connections are secure within my own network. In addition, the automation capabilities are extensive, allowing me to script complex routines to further enhance the automation lifestyle.
Gathering the Essentials
Before jumping into the setup process, it’s important to gather all necessary components to ensure an efficient setup experience. Let’s delve into what I need.
Hardware Requirements
For Home Assistant Green, a quality setup starts with understanding the hardware components. Here’s a simplified breakdown:
| Component | Description |
|---|---|
| Home Assistant Green Box | The main device for hosting the platform |
| LAN Cable | To connect the device to the internet router |
| Power Adapter | Provides power to the Home Assistant Green Box |
I also ensure that I have a stable internet connection and a smartphone or laptop for the configuration process.
Software Prerequisites
I need to be sure to have some basic software components on hand as they will play a pivotal role through the installation. Here’s what you need:
- A Web Browser: For accessing the Home Assistant dashboard.
- Home Assistant App: Available on both iOS and Android, which helps in the management and control of devices from your smartphone.

Initial Setup Steps
With my gear in place and software ready, I’m poised to begin my Home Assistant Green setup. Here’s how I do it:
Unboxing and Connecting
Upon getting the device, the first step involves unboxing and connecting it to my network. I carefully plug the LAN cable into the device and connect the other end to my router. Then, I power it up using the provided adapter. It’s important to ensure that the device boots up properly, with all lights indicating a steady connection.
Accessing the Home Assistant Interface
Once the physical connection is established, I move to my computer or smartphone. I open a web browser and type in http://homeassistant.local:8123 to access the Home Assistant web interface. This step allows me to set up the software and configure my home devices. If I encounter any issues at this stage, checking the network connection or trying an alternative web address such as the local IP might solve the problem.
Configuring My First Device
Having accessed the Home Assistant interface, the exciting part of adding devices begins. Let’s start with configuring a simple device.
Integrating Devices
Home Assistant Green has a wizard setup that guides me through integrating my devices. I can add devices from different manufacturers such as Philips Hue, Google Nest, and more. Here’s a general way I follow to add a new device:
- Navigate to Configuration: Click on “Integrations” from the main dashboard.
- Search for Device: Enter the type of device I want to set up, for example, “Philips Hue.”
- Follow Prompts: Initiate the setup by following on-screen prompts specific to the device.
Creating My First Automation
One of the pivotal features of Home Assistant Green is the ease with which I can create automations. Here’s a basic example of how I might proceed:
- Objective: Turn on my living room lights when motion is detected in the hallway after 7 PM.
- Procedure:
- Head to the “Automations” tab from the Home Assistant dashboard.
- Click the “+” to create a new automation.
- Define the trigger (motion in the hallway after 7 PM).
- Define the action (turn on living room lights).
- Save and test the automation.
This not only emphasizes the platform’s utility but also improves daily convenience and energy efficiency in my lifestyle.

Troubleshooting Common Issues
Sometimes, things don’t go smoothly as planned. Here, I aim to arm myself with solutions to the most common issues faced during the setup process.
Connectivity Issues
One potential obstacle might be connectivity issues that prevent communication between Home Assistant Green and my devices. Here’s what I do:
- Check Network Settings: Ensure that all devices are on the same local network.
- Restart Devices: Rebooting my router or the Home Assistant Green device can resolve most connection hiccups.
- Firewall Settings: Sometimes, a pesky firewall can prevent connections. I check settings and adjust as needed.
Device Compatibility
Not all devices might be compatible right out of the box. For any that I face complications with, these steps might offer a respite:
- Update Firmware: Ensure that device firmware is up to date.
- Consult Community: The Home Assistant community is robust and often helps with compatible solutions or workarounds.
Maximizing My Home Assistant Experience
Once the basics are set up, I explore additional features to enhance my home automation experience further.
Exploring User Add-ons
The Home Assistant ecosystem supports a variety of third-party add-ons that enrich my experience. These range from monitoring tools and media players to automation scripts. I explore the add-ons store from the dashboard, installing ones that align with my needs and interests.
Customizing the Dashboard
The dashboard is my main interface and customizing it aids in better management. I can modify the layout, add or remove widgets, and change themes to personalize the look. Here’s what I often do:
- Rearrange Panels: Group similar devices or functions.
- Add New Cards: For direct access and control of my gadgets.
- Apply Themes: Opt for light or dark themes based on preference.
Expanding My Setup
Expanding my Home Assistant Green setup involves adding more devices, setting up more complex automations, and integrating new smart technologies as they arise.
Device Integration Beyond Basics
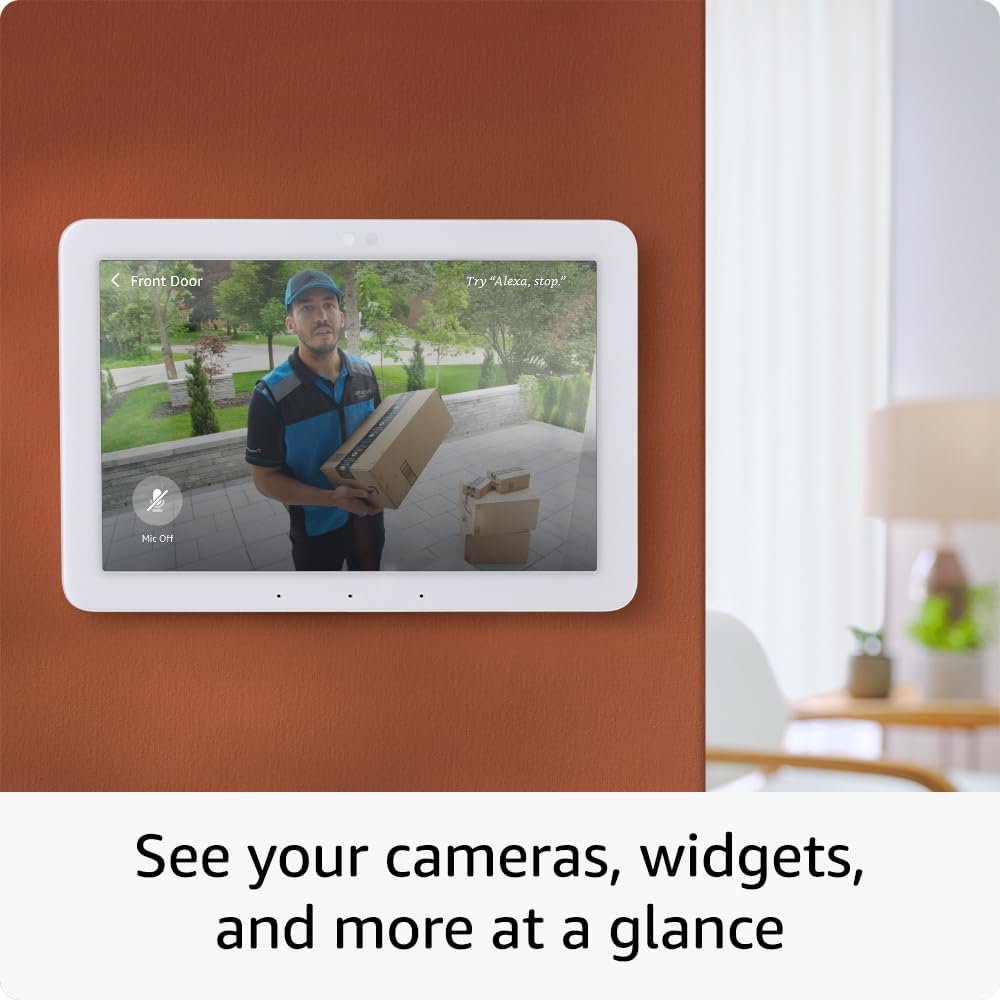
As I continue to expand, I gradually integrate additional devices and setups. For instance, utilizing smart thermostats, security cameras, or voice assistants further diversifies home automation capabilities.
Advanced Automations
Creating advanced automation scripts becomes part of my long-term strategy. I look at integrating conditional statements, and using time schedules or even adapting machine learning algorithms that intelligently learn my preferences and adjust settings automatically.
Summary
Setting up Home Assistant Green is not just about connecting devices but revolutionizing how I interact with my home. This system lets me control, automate, and streamline daily operations efficiently. Whether through basic installations or delving into complex routines, Home Assistant provides an encompassing framework to make any smart home more intuitive and functional. With these steps and tips, I feel prepared to establish a well-oiled smart home ecosystem.


